跨平台React Native鸿蒙开发案例十一:如何在 React Native 侧加载沙箱中的图片
本文介绍了一个基于华为鸿蒙操作系统与React Native集成的沙箱环境应用入口组件。项目包含两个演示:OpenHarmony侧推送文件到沙箱并加载,以及React Native侧加载沙箱中的图片。系统架构采用模块化设计,支持动态资源管理和沙箱环境运行,通过条件渲染和异步操作实现bundle文件的下载、验证和加载。项目实现了跨平台资源管理,确保文件在鸿蒙和React Native系统间无缝传递。
这是一个基于华为鸿蒙操作系统与React Native深度集成的沙箱环境应用入口组件,展示了在现代跨平台移动应用开发中如何实现动态资源管理和沙箱环境下的应用运行。从技术架构的宏观层面来看,这段代码构建了一个完整的沙箱应用管理系统,通过条件渲染和异步操作来管理React Native bundle的下载、验证和加载过程。
README
这个项目包含两个演示,一个演示如何在 OpenHarmony 侧将 raw 文件推送到沙箱并成功加载,另一个演示如何在 React Native 侧加载沙箱中的图片。
目录结构
├── SandBoxNativeProject
|   └── Index.ets
|       ├── downloadBundle # OpenHarmony 侧推送 raw 文件到沙箱中
|       └── new FileJSBundleProvider # OpenHarmony 侧加载沙箱中的文件
└── SandBoxRnProject
    └── example.tsx  # React Native 侧加载沙箱中的图片
OpenHarmony 侧
- 将文件推送到沙箱: 使用
downloadBundle函数的 getRawFileContent 方法将 rwaFile 中的文件推送到沙箱,以便之后的读取操作。 - 加载文件: 使用
new FileJSBundleProvider类从沙箱中加载文件并验证其内容。
React Native 侧
- 加载沙箱中的图片: 使用
example.tsx中的代码,从 OpenHarmony 沙箱中加载图片,并在 React Native 应用中显示。
运行步骤
- 在
SandBoxRnProject目录下执行 npm i @react-native-oh/react-native-harmony@x.x.x或yarn add @react-native-oh/react-native-harmony@x.x.x 安装依赖,执行 npm run dev 生成 bundle; - 在
entry目录下执行 ohpm i @rnoh/react-native-openharmony@x.x.x 安装依赖; - 检查
SandBoxNativeProject、entry目录下是否生成oh-modules文件夹; - 用 DevEco Studio 打开
SandBoxNativeProject,执行 Sync and Refresh Project; - 点击 File > Project Structure > Signing Configs,登录并完成签名;
- 点击右上角的 run 启动项目;
- 确保鸿蒙和 rn 侧依赖下载无缺,版本配套正常;
- 打开生成的 app 来确认文件已正确加载。
注意事项
- 确保 OpenHarmony 和 React Native 项目配置正确,以便文件可以在两个系统之间无缝传递与加载。
- 沙箱路径的使用和文件访问权限需要根据具体环境进行调整。
效果预览
通过代码将bundle推送到沙箱:
在代码结构方面,首先导入了多个核心模块和接口。AnyJSBundleProvider提供统一的bundle提供者接口,支持多种bundle来源。ComponentBuilderContext是组件构建器的上下文环境,提供构建过程中的必要信息。FileJSBundleProvider、MetroJSBundleProvider、ResourceJSBundleProvider分别对应文件系统、Metro开发服务器和资源管理器的bundle提供实现。RNApp是React Native应用的核心组件,负责渲染和管理RN应用。RNOHErrorDialog提供错误提示对话框组件。RNOHLogger负责日志记录和追踪功能。TraceJSBundleProviderDecorator提供bundle加载的追踪装饰器。RNOHCoreContext提供核心上下文信息。RNAbility代表鸿蒙的能力对象,提供对底层系统功能的访问能力。
从RNPackagesFactory导入createRNPackages函数,这表明应用支持模块化的RN包管理,允许开发者根据业务需求灵活扩展功能模块。fs模块的导入提供了文件系统操作能力,包括文件读写、状态检查等功能,这对于沙箱环境下的资源管理至关重要。
@Builder装饰器用于定义buildCustomRNComponent函数,这是一个自定义RN组件构建器。虽然当前实现为空,但为后续扩展自定义原生组件提供了接口。wrappedCustomRNComponentBuilder通过wrapBuilder函数对构建器进行包装,增强了组件的功能性和扩展性,这种包装器模式在复杂应用中非常常见。
@Entry装饰器标识这个组件是应用的入口点,@Component装饰器声明这是一个自定义组件结构。组件内部定义了多个重要的状态变量和属性,这些属性共同构成了组件的完整状态管理体系。
@StorageLink(‘RNOHCoreContext’)创建了一个与AppStorage双向绑定的rnohCoreContext私有属性。这种机制确保了应用状态的全局一致性管理,当全局状态发生变化时,所有相关的组件都会自动更新,这种响应式设计是现代前端开发的重要特征。
@State shouldShow是一个响应式状态变量,控制组件是否显示。这种状态管理方式确保了UI的响应性和一致性。
private logger用于日志记录,通过RNOHLogger实例提供,支持细粒度的日志追踪和管理功能。
@StorageLink(‘RNAbility’) rnAbility与全局的RNAbility状态绑定,提供了对鸿蒙能力对象的访问,这对于实现沙箱环境下的资源管理具有重要意义。
bundlePath和assetsPath定义了bundle文件和资源文件的相对路径。这种相对路径的设计使得应用可以在不同的部署环境下灵活运行,体现了设计的前瞻性和灵活性。
import {
  AnyJSBundleProvider,
  ComponentBuilderContext,
  FileJSBundleProvider,
  MetroJSBundleProvider,
  ResourceJSBundleProvider,
  RNApp,
  RNOHErrorDialog,
  RNOHLogger,
  TraceJSBundleProviderDecorator,
  RNOHCoreContext,
  RNAbility
} from '@rnoh/react-native-openharmony';
import { createRNPackages } from '../RNPackagesFactory';
import fs from '@ohos.file.fs';

@Builder
export function buildCustomRNComponent(ctx: ComponentBuilderContext) {
};
const wrappedCustomRNComponentBuilder = wrapBuilder(buildCustomRNComponent);

@Entry
@Component
struct Index {
  @StorageLink('RNOHCoreContext') private rnohCoreContext: RNOHCoreContext | undefined = undefined;
  @State shouldShow: boolean = false;
  private logger!: RNOHLogger;
  @StorageLink('RNAbility') rnAbility: RNAbility | undefined = undefined;
  // bundlePath 和 assetsPath 都是相对于 rnAbility.context.filesDir目录下的路径。
  bundlePath: string = 'sandbox.harmony.bundle';
  assetsPath: string = 'assets';
  @State hasBundle: Boolean = false;
  @State bundleStatus: string = '';

  aboutToAppear() {
    this.logger = this.rnohCoreContext!.logger.clone("Index");
    const stopTracing = this.logger.clone("aboutToAppear").startTracing();
    this.shouldShow = true;
    stopTracing();
    this.checkBundleUpdated();
  }

  async downloadBundle() {
    if (this.rnAbility) {
      // 将bundlejs下载并保存到沙箱。
      let uint8Array =
        await this.rnAbility.context.resourceManager.getRawFileContent('rawfile/bundle/sandbox.harmony.bundle');
      let rawBuffer = uint8Array.buffer;
      let num = rawBuffer.byteLength;
      // 获取沙箱路径
      const sandboxDir = this.rnAbility.context.filesDir;
      const bundlePath = sandboxDir + '/' + this.bundlePath;
      let stream = fs.createStreamSync(bundlePath, 'w');
      stream.writeSync(rawBuffer);
      stream.closeSync();
      this.hasBundle = true;
    }
  }

  checkBundleUpdated(): void {
    if (this.rnAbility) {
      const sandboxDir = this.rnAbility.context.filesDir;
      const bundlePath = sandboxDir + '/' + this.bundlePath;
      try {
        const stat = fs.statSync(bundlePath);
        if (stat.size == 0) {
          this.downloadBundle();
        } else {
          this.hasBundle = true;
        }
      } catch (e) {
        this.downloadBundle();
      }
    }
  }

  onBackPress(): boolean | undefined {
    // NOTE: this is required since `Ability`'s `onBackPressed` function always。
    // terminates or puts the app in the background, but we want Ark to ignore it completely。
    // when handled by RN。
    this.rnohCoreContext!.dispatchBackPress();
    return true;
  }

  build() {
    Column() {
      if (this.rnohCoreContext && this.shouldShow) {
        if (this.rnohCoreContext?.isDebugModeEnabled) {
          RNOHErrorDialog({ ctx: this.rnohCoreContext });
        }
        if (this.rnAbility && this.hasBundle) {
          RNApp({
            rnInstanceConfig: {
              createRNPackages,
              enableCAPIArchitecture: true,
              arkTsComponentNames: []
            },
            appKey: "Sandbox",
            wrappedCustomRNComponentBuilder: wrappedCustomRNComponentBuilder,
            onSetUp: (rnInstance) => {
              rnInstance.enableFeatureFlag("ENABLE_RN_INSTANCE_CLEAN_UP")
            },
            jsBundleProvider: new FileJSBundleProvider(this.rnAbility.context.filesDir + '/' + this.bundlePath)
          })
        } else {
          Row() {
            Text('未加载bundle')
            Text(this.bundleStatus)
          }
          .height(100)
        }
      }
    }
    .height('100%')
    .width('100%')
  }
}
在代码结构方面,首先导入了React核心库以及React Native的基础组件:Text用于显示文本内容,Image用于渲染图片资源,View作为容器组件用于布局,StyleSheet用于创建和管理样式对象。这种模块化的导入方式体现了现代前端开发的工程化思想,确保了代码的可维护性和可扩展性。
样式系统通过StyleSheet.create方法定义,创建了一个名为text的基础样式对象,设置了5像素的外边距。这种样式定义方式不仅提高了代码的可读性,还能通过React Native的优化机制提升渲染性能。样式与组件逻辑的分离是现代前端开发的重要原则,有助于提高代码的组织性和可测试性。
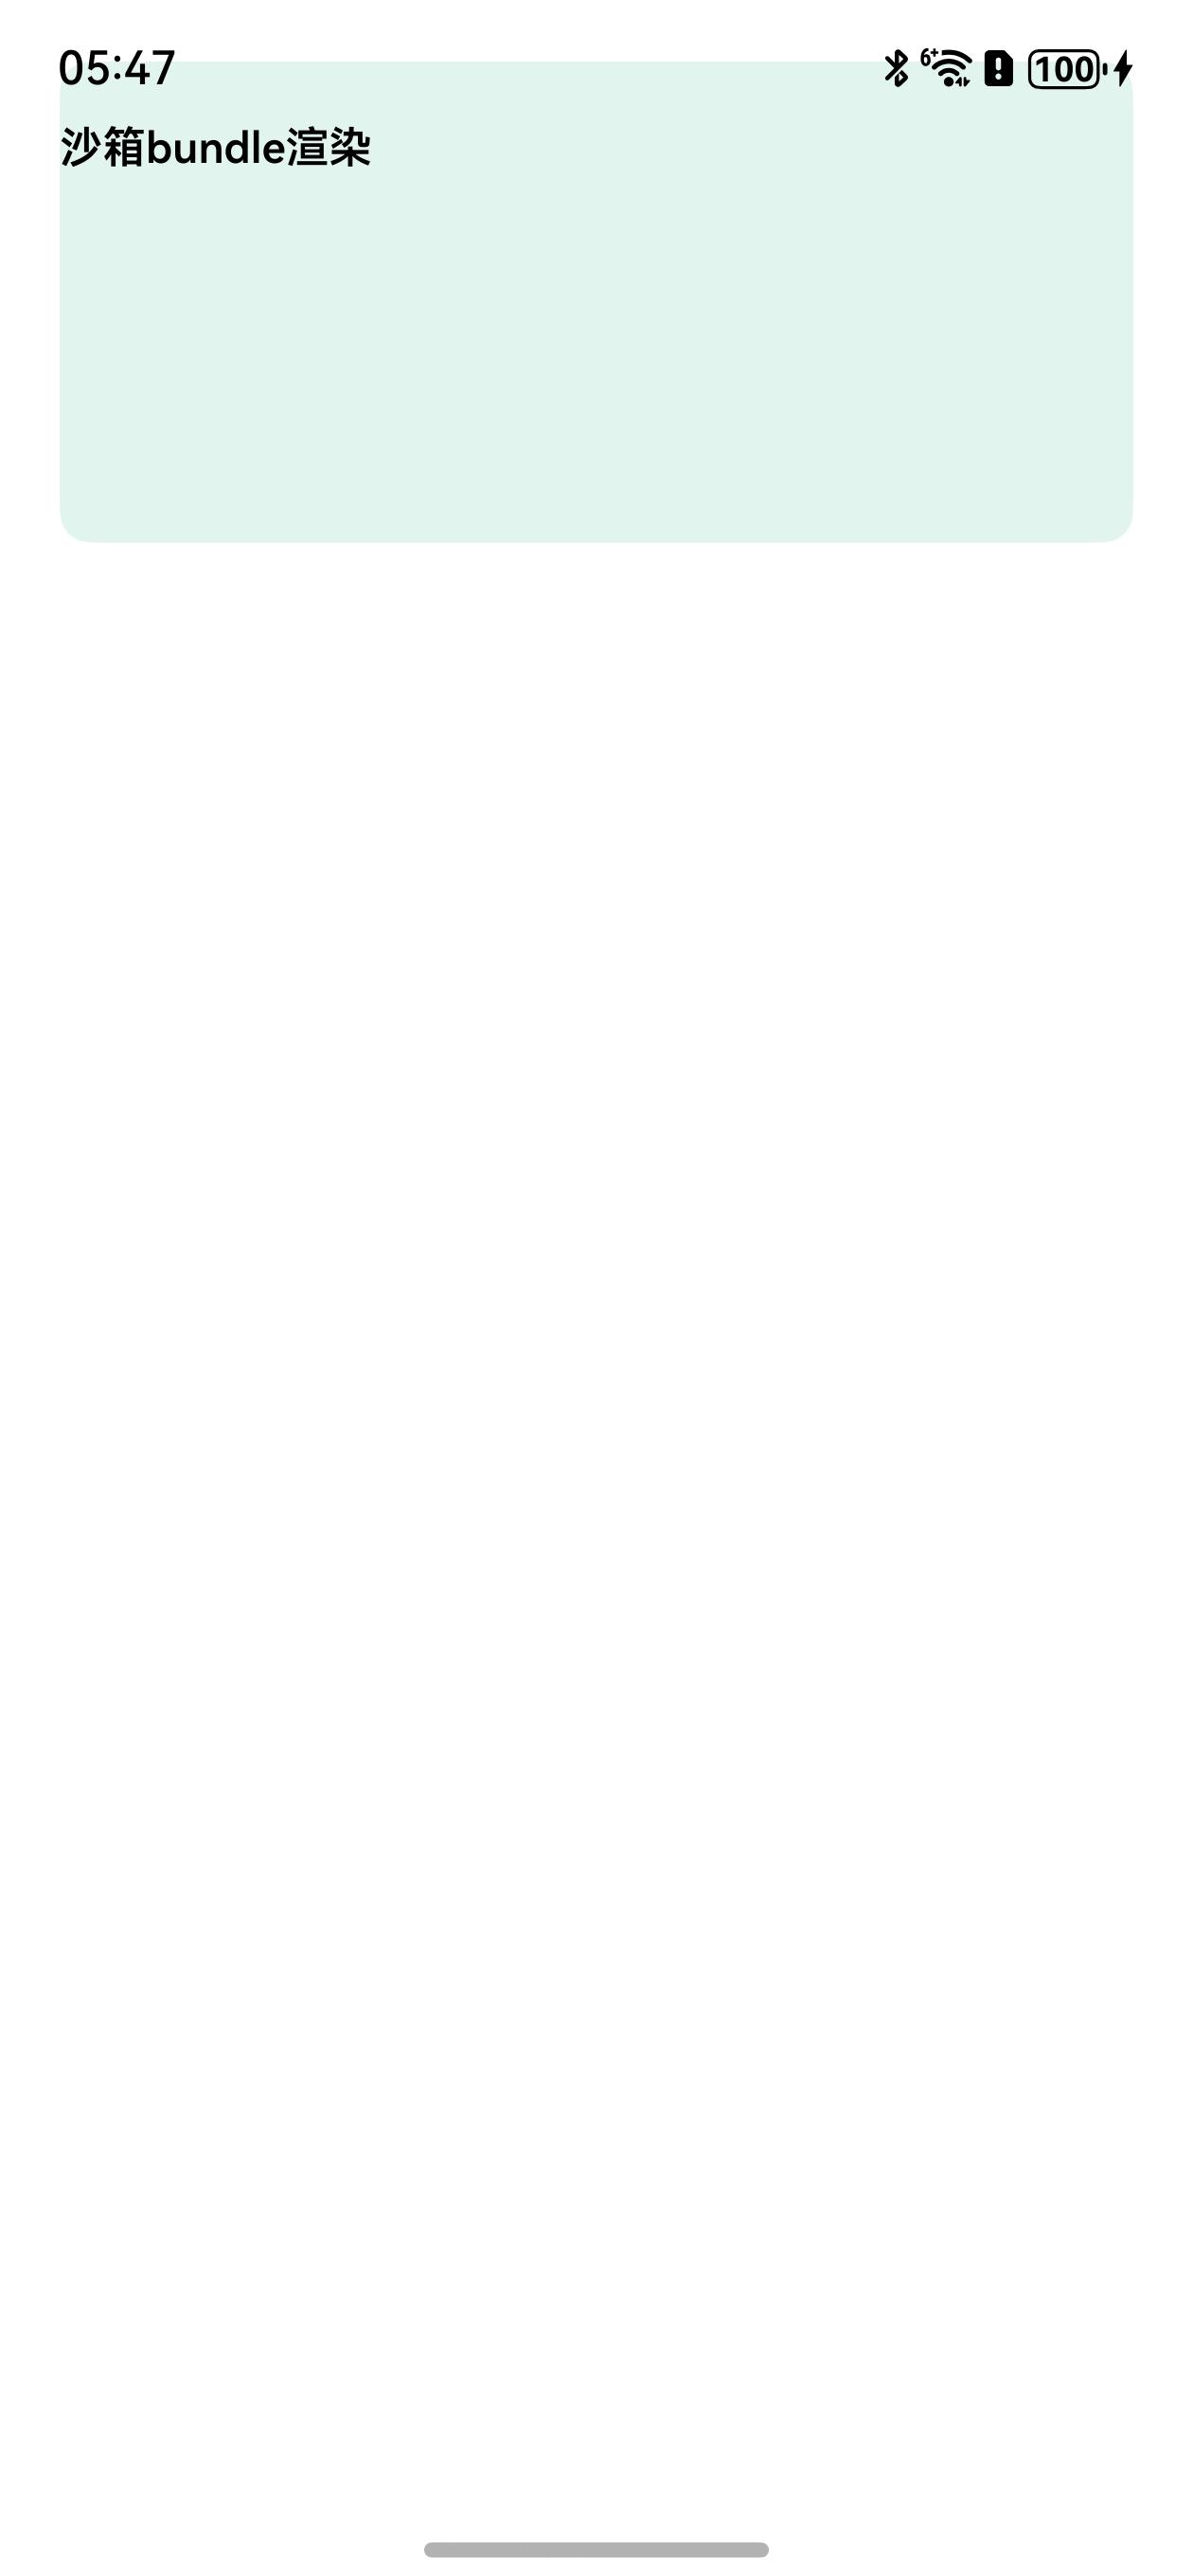
Sandbox是一个函数式组件,采用箭头函数的语法定义。组件返回一个View容器,该容器设置了多个样式属性:marginTop为20像素的上边距,backgroundColor为浅绿色背景,width为父容器宽度的90%,borderRadius为10像素的圆角效果,marginLeft和marginRight都设置为’auto’,这种设置实现了容器的水平居中布局,同时保持了良好的视觉美感。
在容器内部,首先包含一个Text组件,显示"沙箱bundle渲染"的标题文本。该组件应用了内联样式,设置了fontWeight为600的粗体字重和marginTop为20像素的上边距。这种样式应用方式提供了灵活性和特异性。
import React from 'react';
import { Text, Image, View, StyleSheet } from 'react-native';

const styles = StyleSheet.create({
  //创建样式
  text: {
    margin: 5,
  },
});

const Sandbox = () => {
  return (
    <View
      style={{
        marginTop: 20,
        backgroundColor: '#def5ee',
        width: '90%',
        borderRadius: 10,
        marginLeft: 'auto',
        marginRight: 'auto',
      }}>
      <Text style={{ fontWeight: 600, marginTop: 20 }}>沙箱bundle渲染</Text>
      <View
        style={{
          display: 'flex',
          alignItems: 'center',
          flexDirection: 'row',
          width: '100%',
        }}>
        <Image
          source={require('../../../assets/expo.png')}
          style={{
            width: 100,
            height: 100,
            margin: 10,
          }}
        />
        <Image
          source={{ uri: 'file:///data/storage/el2/base/files/call.png' }}
          style={{
            width: 100,
            height: 100,
            margin: 10,
          }}
        />
        <Image
          source={require('../../../assets/call.png')}
          style={{
            width: 100,
            height: 100,
            margin: 10,
          }}
        />
      </View>
    </View>
  );
};

export default Sandbox;
这是一个基于 React Native 框架开发的简单应用组件,展示了在现代跨平台移动应用开发中如何构建基础的用户界面和交互功能。从技术架构的宏观层面来看,这段代码构建了一个完整的"Hello World"示例应用,通过声明式UI编程范式实现了视图布局和事件处理。
在代码结构方面,首先导入了 React 核心库以及 React Native 的基础组件:Text 用于显示文本内容,View 作为容器组件用于布局,StyleSheet 用于创建和管理样式对象,Pressable 提供可点击的交互元素。这种模块化的导入方式体现了现代前端开发的工程化思想。
注释中提到了被注释掉的 CustomNativeComponentTest 导入语句,这表明开发者可能正在测试或计划集成自定义原生组件功能,但当前版本暂时禁用了这个特性。
App 是一个函数式组件,采用箭头函数的语法定义,返回类型为 React.Node。这种类型标注增强了代码的可读性和类型安全性。
import * as React from 'react';
import { Text, View, StyleSheet, Pressable } from 'react-native';//注入组件
// import { CustomNativeComponentTest } from './views/CustomNativeComponentTest.harmony';

const App = (): React.Node => {
  return (
    <View>
      <Pressable onPress={() => {
        console.log("Hello World~")
      }}>
        <View style={styles.textContainer}>
          <Text style={styles.title}>
            Hello World~
          </Text>
          <Text style={styles.content}>
            在 VSCode 的控制台上输入d,便可看到手机上弹出了React Native Dev Menu对话框。
            开发者可通过Element Inspector查看RN元素的盒子模型及样式。
          </Text>
        </View>
      </Pressable>

      {/* <CustomNativeComponentTest></CustomNativeComponentTest> */}
    </View>
  );
};

export default App;
const styles = StyleSheet.create({//创建样式
  textContainer: {
    backgroundColor: 'white',
    height: 400,
    justifyContent: 'center',
    padding: 20,
  },
  title: {
    fontWeight: 'bold',
    textAlign: 'left',
    fontSize: 40
  },
  content: {
    marginTop: 10,
    fontSize: 16,
    textAlign: 'left'
  }
});
欢迎大家加入开源鸿蒙跨平台开发者社区,一起共建开源鸿蒙跨平台生态。

社区规范:仅讨论OpenHarmony相关问题。
更多推荐
 3
3 0
0- 0


 已为社区贡献7条内容

所有评论(0)