OpenHarmony - xts社区共建指北
#OpenHarmony - xts社区共建指北 作者:刘立海 Xts社区共建指北 前言 最近在做xts社区共建,在此记录一下。分享经验和踩过的坑,希望对后续要做这块的同学会有点帮助,能快速上手。欢迎评论区提出宝贵意见,一起交流,共同进步。本文主要从五个部分来介绍如何快速上手xts社区共建: 搭建虚拟机环境 本地编
作者:刘立海
前言
最近在做xts社区共建,在此记录一下。分享经验和踩过的坑,希望对后续要做这块的同学会有点帮助,能快速上手。欢迎评论区提出宝贵意见,一起交流,共同进步。
本文主要从五个部分来介绍如何快速上手xts社区共建:
- 搭建虚拟机环境
- 本地编写case
- xts适配
- unbutu编译
- 代码提交社区
搭建虚拟机环境
- 安装vmware VMware-workstation-full-16.1.2-17966106
- 安装Ubuntu镜像 Ubuntu 20.04.2 LTS
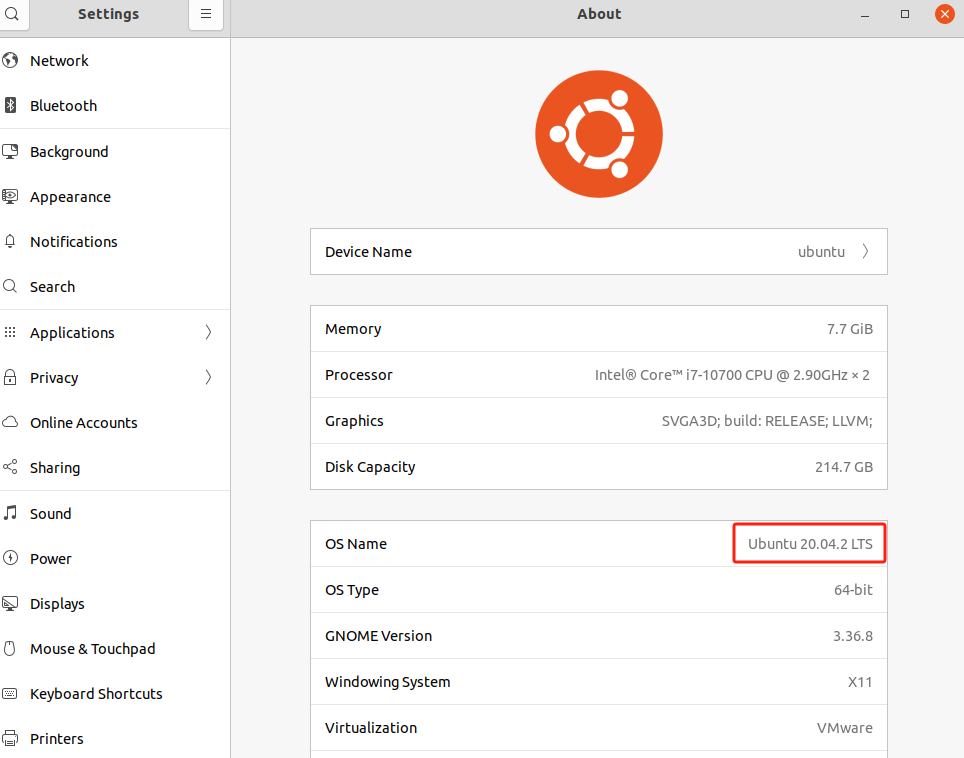
- 硬盘至少200G可用空间
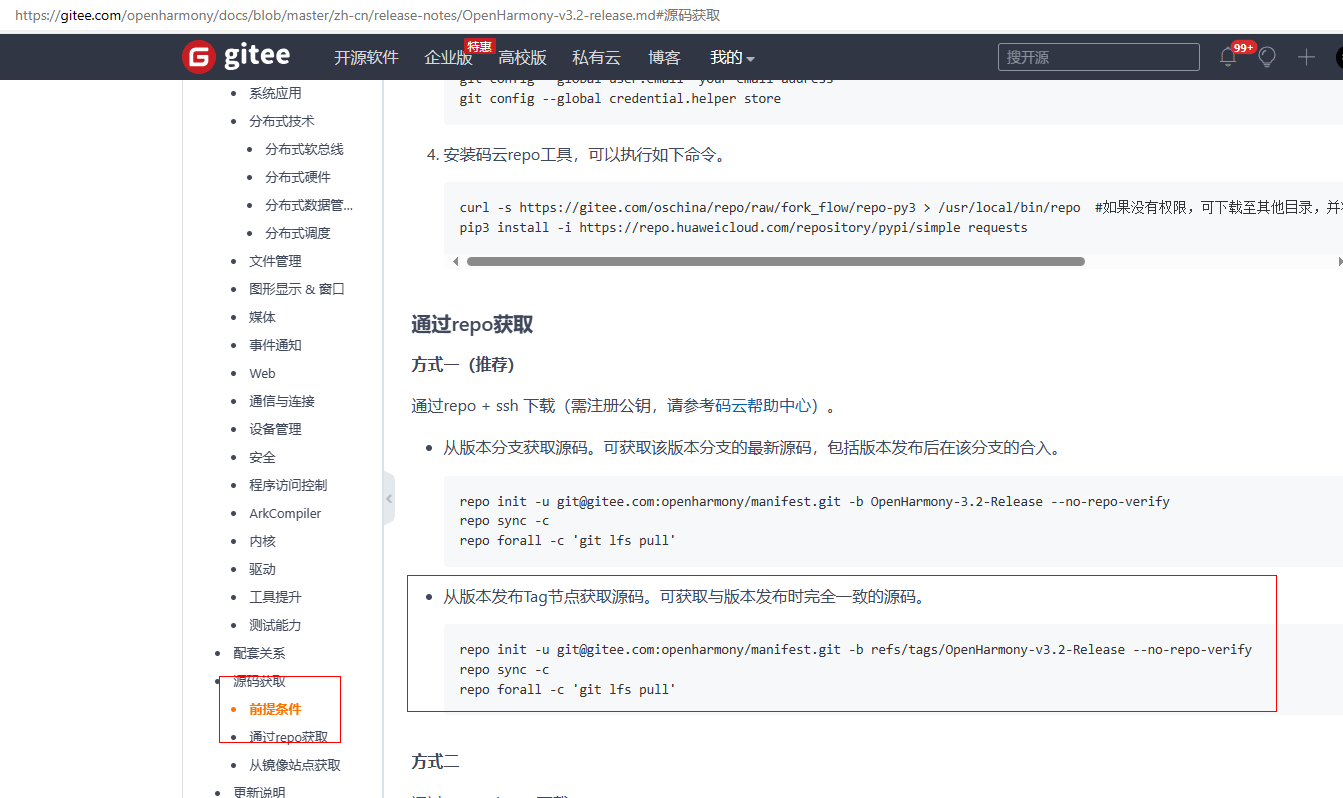
- openharmony源码获取 参考链接:https://gitee.com/openharmony/docs/tree/master/zh-cn/release-notes
repo init -u git@gitee.com:openharmony/manifest.git -b refs/tags/OpenHarmony-v3.2-Release --no-repo-verify
repo sync -c
repo forall -c 'git lfs pull'
本地编写case
- 浅尝testcase执行流程: testRunner -> testAbility -> list.test -> Ability.test ,coding主要在 Ability.test 中进行
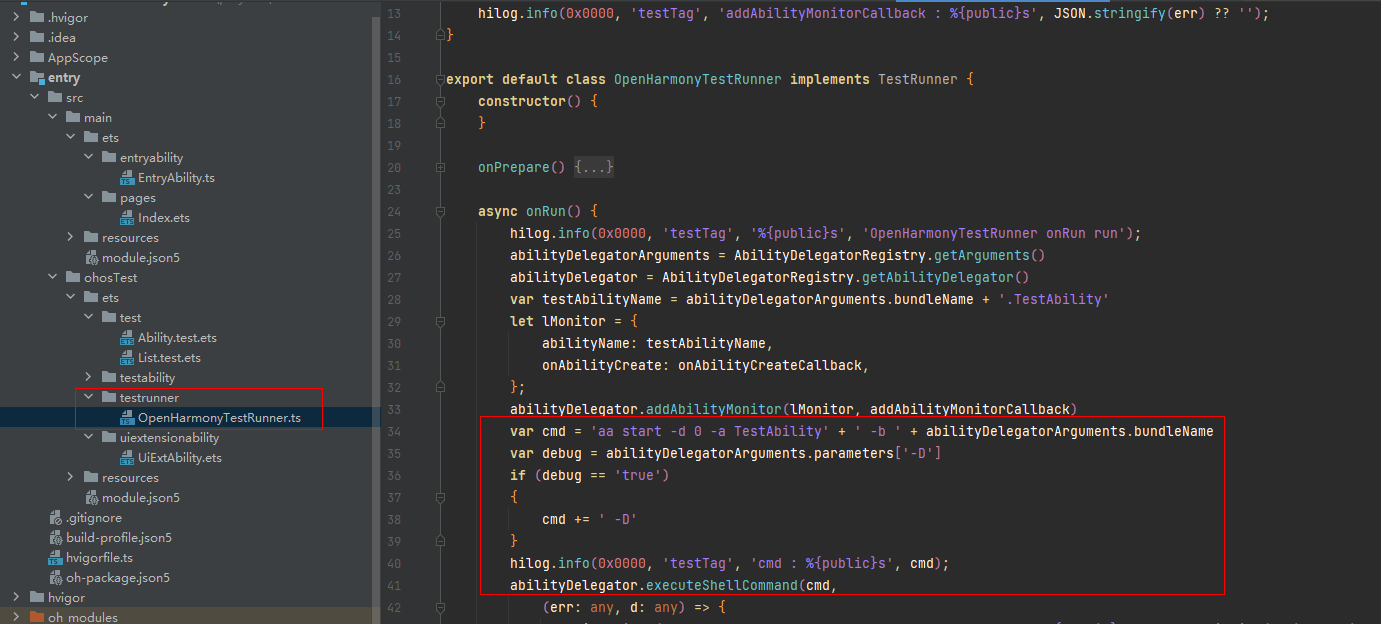
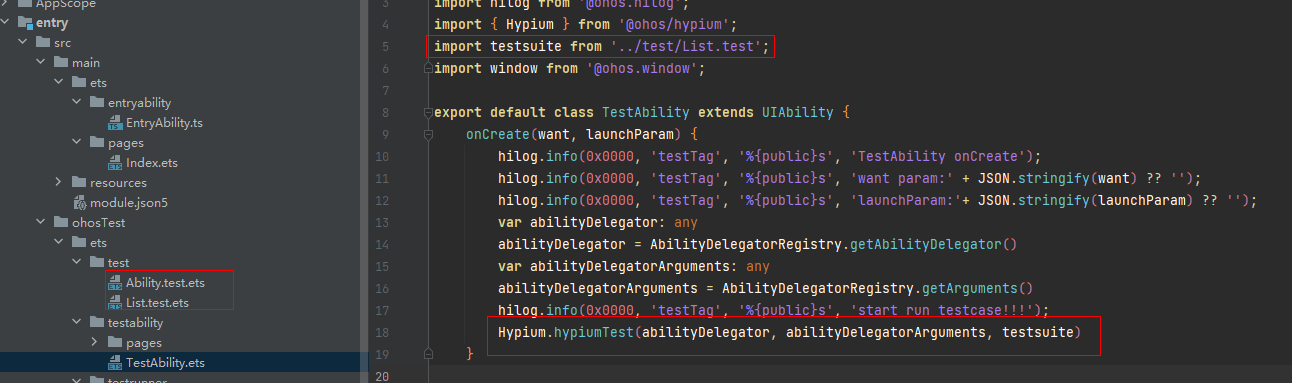
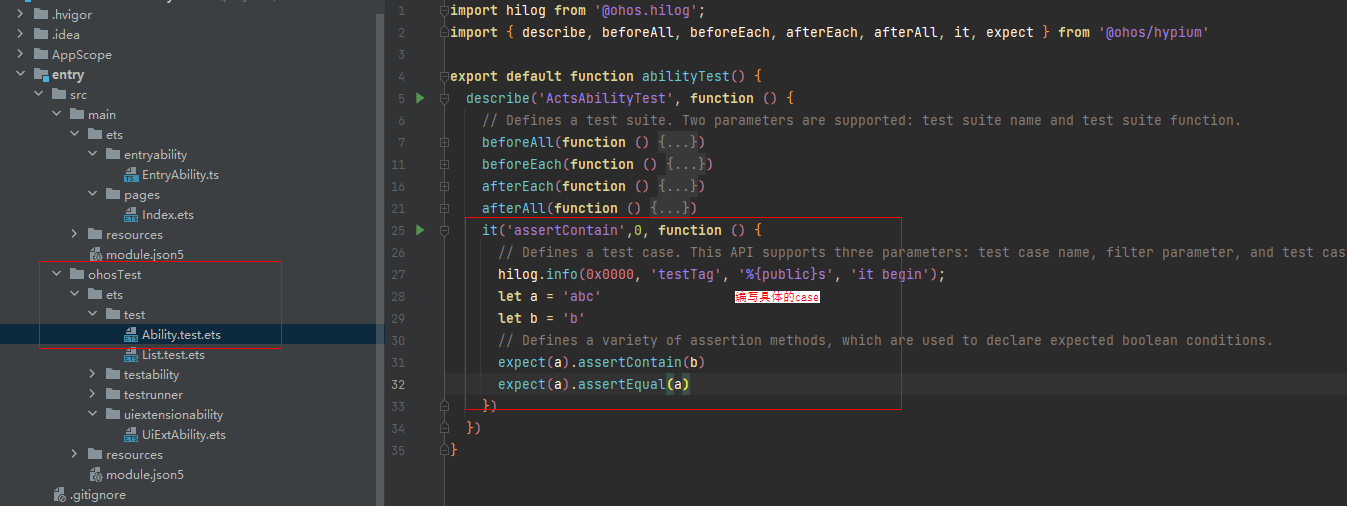
- 按照用例要求在 Ability.test 中编写具体的case

简单编写示例:
/**
    * @tc.number    : SUB_Ability_AbilityRuntime_ABILITY_StartAbility_getDisplayIdTest_0600
    * @tc.name      : The device has only one physical screen, and the startAbilityForResult parameter is called to start the application,
    *                 and the displayId parameter in the StartOptions parameter is set to undefined
    * @tc.desc      : for testing call startAbilityForResult to start app with startOption's displayId = undefined
    * @tc.level     : Level 3
    * @tc.size      : MediumTest
    * @tc.type      : Function
    */
   it('SUB_Ability_AbilityRuntime_ABILITY_StartAbility_getDisplayIdTest_0600', 3, async done => {
     let commonEventSubscribeInfo = {
       events: [Constant.event_600]
     }
     commonEvent.createSubscriber(commonEventSubscribeInfo).then((subscriber) => {

       commonEvent.subscribe(subscriber, (err, commonEventData) => {
         console.info(`====> ACTS_startAbilityForResult  subcribed success 600=====> data: ${JSON.stringify(commonEventData)}`);

         expect(commonEventData.parameters[displayId]).assertEqual(0);
         commonEvent.unsubscribe(subscriber);
         done();
       })

     })
     let want = {
       bundleName: 'com.ohos.startabilitydisplayidtest',
       abilityName: 'MainAbility6',
     }
     await startAbilityForResult(want)
   })
- Coding case注意事项:
- 分析用例是否可写, 如有疑问按模块整理沟通
- 每条用例要有注释且符合规范
- 文件开头记得添加许可证头, 即文件开头的license说明
- 使用subscriber -跨ability/hap之间消息传递
- 本地自测case全部pass就可copy工程到Ubuntu
xts适配
- 参考链接: XTS百科指导
- xts工程示例:
- xts适配步骤:
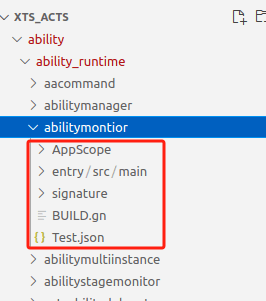
- 适配路径:在虚拟机Ohos/A_Master/test/xts/acts/ability/ability_runtime目录下新建工程
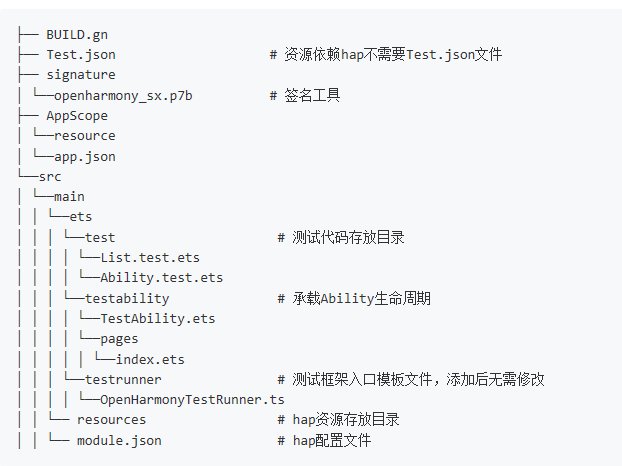
- 新建AppScope目录, entry目录, signature目录以及BUILD.gn和Test.json文件。其中AppScope和entry也可以从stage工程中copy过来,稍作修改即可。
- Build.gn中简单改两处:ohos_js_hap_suite内容(这个是suite名称)和 修改hap_name的值

``` js ohos_js_hap_suite("ActsAbilityuserTest") {
hap_profile = "entry/src/main/module.json"
js_build_mode = "debug"
deps = [
":actsabilityusertest_js_assets",
":actsabilityusertest_resources",
]
ets2abc = true
certificate_profile = "signature/openharmony_sx.p7b"
hap_name = "ActsAbilityuserTest"
subsystem_name = "ability"
part_name = "ability_runtime"
}...
```
-
test.json中配置bundlename和hap_name(build.gn中配置的)
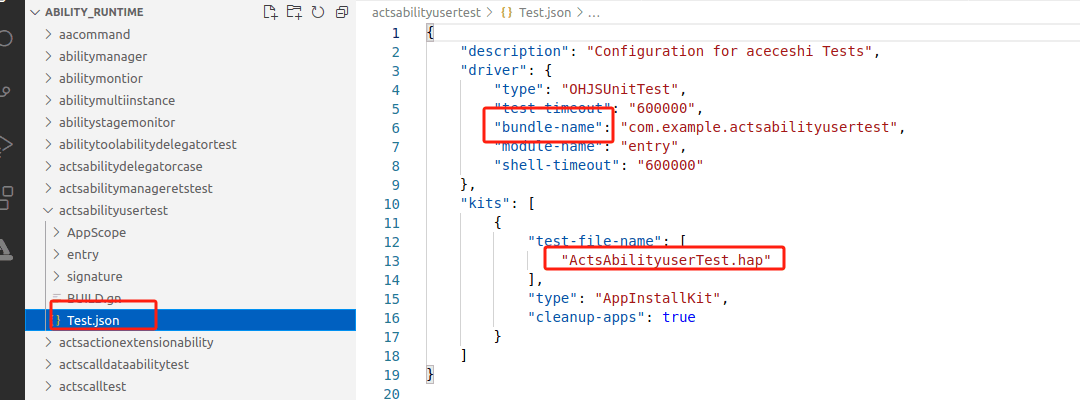
"description": "Configuration for aceceshi Tests", "driver": { "type": "OHJSUnitTest", "test-timeout": "600000", "bundle-name": "com.example.actsabilityusertest", "module-name": "entry", "shell-timeout": "600000" }, "kits": [ { "test-file-name": [ "ActsAbilityuserTest.hap" ], "type": "AppInstallKit", "cleanup-apps": true } ] -
工程外层build.gn文件配置工程的suite名称(工程build.gn中suite名称)

<code>group("ability_runtime") {
testonly = true
if (is_standard_system) {
deps = [
"aacommand:aacommand",
"abilitymanager:actsabilitymanagertest",
"abilitymontior:ActsAbilityMonitorTest",
"abilitymultiinstance:abilitymultiinstance",
"abilitystagemonitor:abilitystagemonitor"
...</code>
- stage模型工程适配xts注意事项:
- .json5 文件改为 .json 文件
- AppScope/app.json 文件添加api版本信息 "minAPIVersion": 9,"targetAPIVersion": 9
- testrunner 文件夹一定要改成 TestRunner
- 签名文件统一改成 openharmony_sx.p7b
Ubuntu编译case
-
参考链接: Ubuntu编译指南
-
编译:
- 单个子系统编译: 在 test/xts/acts 下执行 ./build.sh system_size=standard target_subsystem=demo
- 单模块编译: 在 test/xts/acts 目录下执行 ./build.sh product_name=rk3568 system_size=standard suite=xxx suite

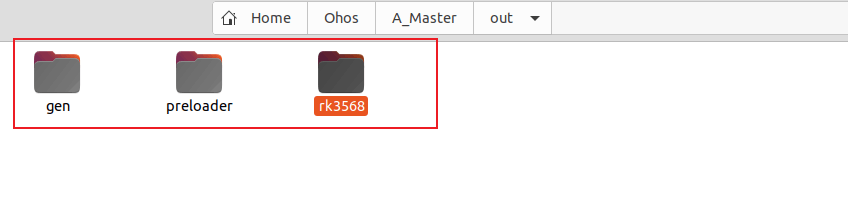
编译产物
- suites ,位于Ohos/A_Master/out/rk3568目录

- 编译注意事项:
- 编译时报错根据error提示修改 error可在终端中查看也可在log日志 如果报的错误和你编写的模块无关 删掉out文件里边的内容 重新编译 out目录下的内容是会自动生成
跑suites报告
- 将suites复制到Windows系统
- 准备Python 3.8以上环境
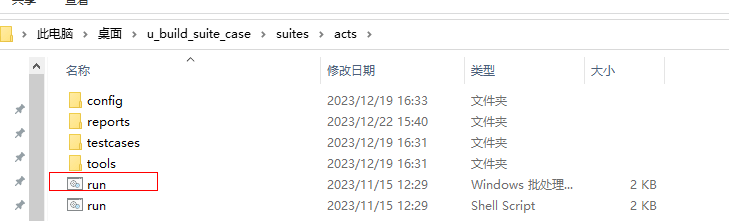
- 修改suites/acts/config 目录下的 user_config.xml ,确保连上测试机器
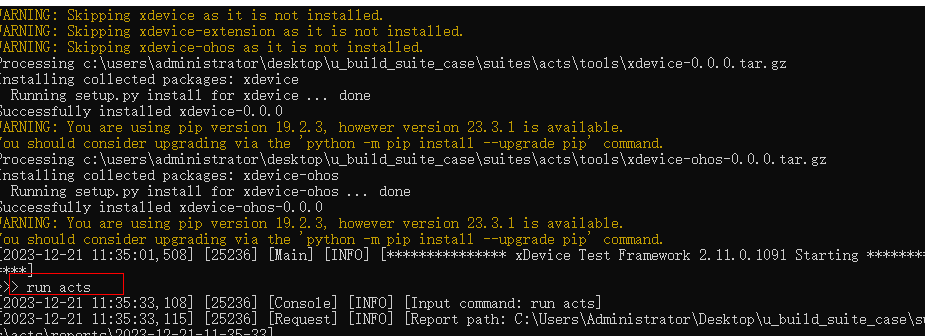
<environment> <support_device> <device>true</device> </support_device> <device type="usb-hdc"> <ip>127.0.0.1</ip> <port>8710</port> <sn>你的测试设备sn码</sn> </device> </environment> - 在 suites/acts 下打开run脚本,输入 run acts 跑报告
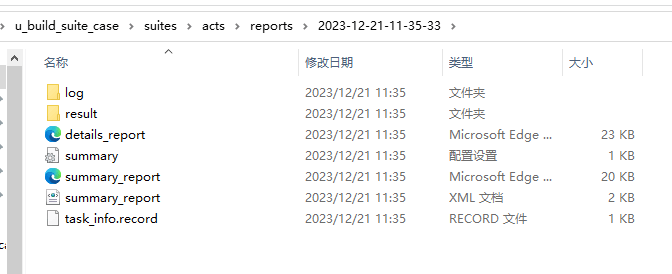
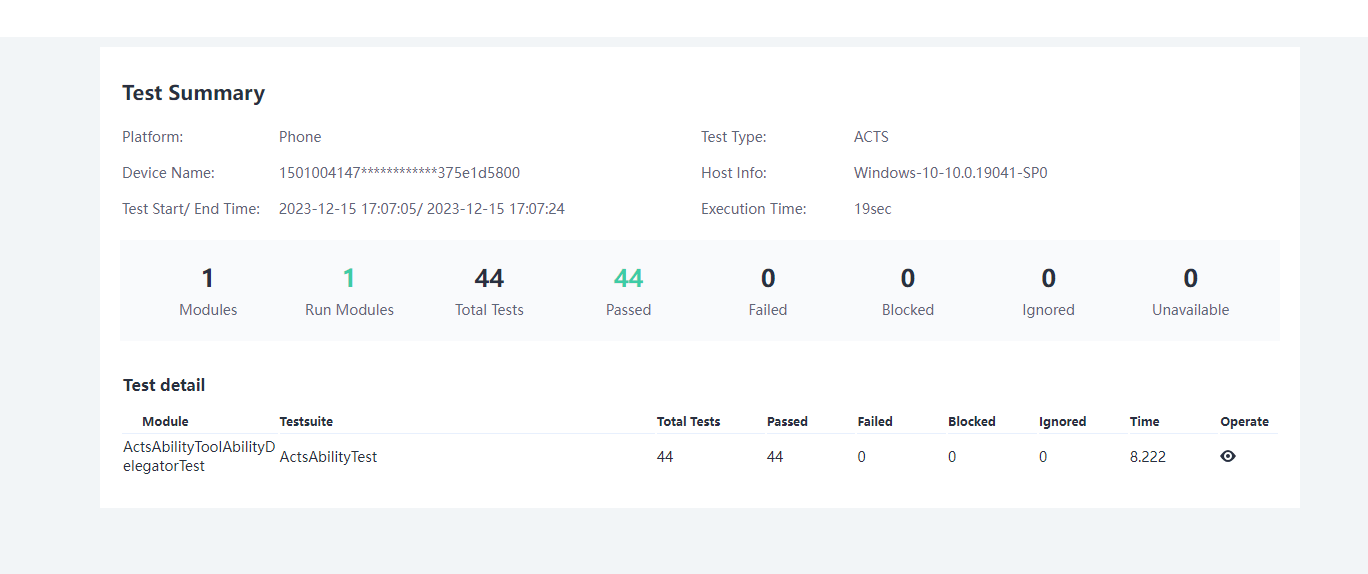
查看报告
- 在suites/acts/acts_report目录下查看报告 全pass,恭喜进入commit代码环节;如果case有fail需根据日志对代码修改 再编译再跑报告直到全pass
代码提交
-
xts提交代码参考: 贡献流程
-
提交流程:
-
在Gitee上加入xts的仓库(主仓: https://gitee.com/openharmony/xts_acts)
-
在Gitee上fork个人仓库并创建个人my feature分支
-
克隆本地my feature分支
-
提交commit,push到远端fork的个人分支
-
创建PR (pull request) (个人分支 -> master)
-
创建issue(xts主仓),关联pull request
-
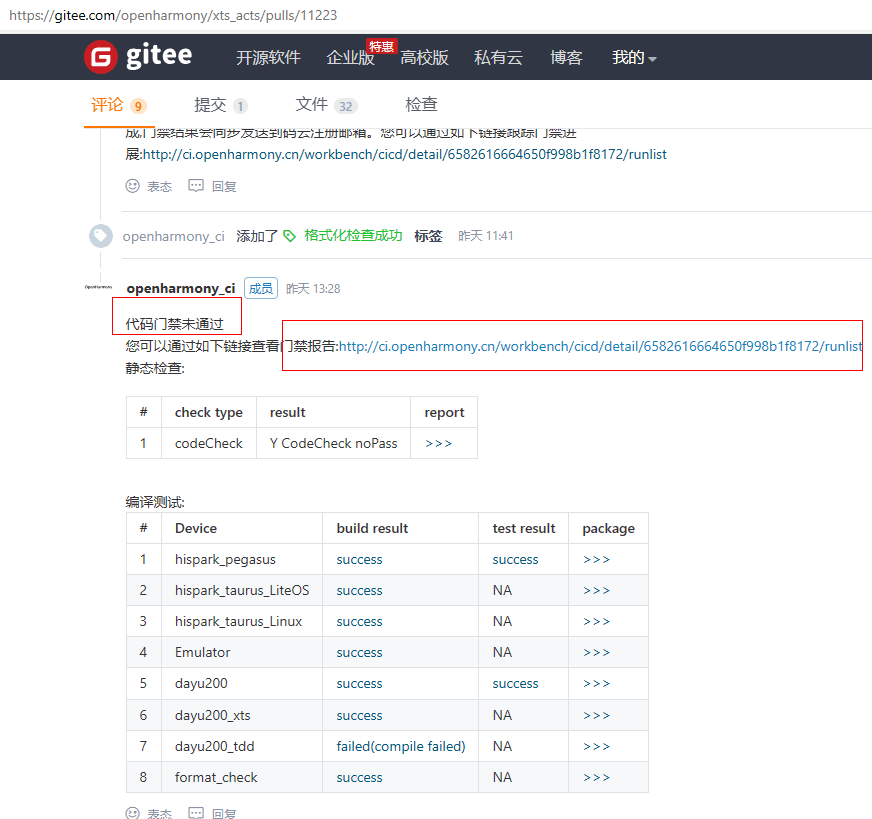
PR评论区中start build触发构建
-
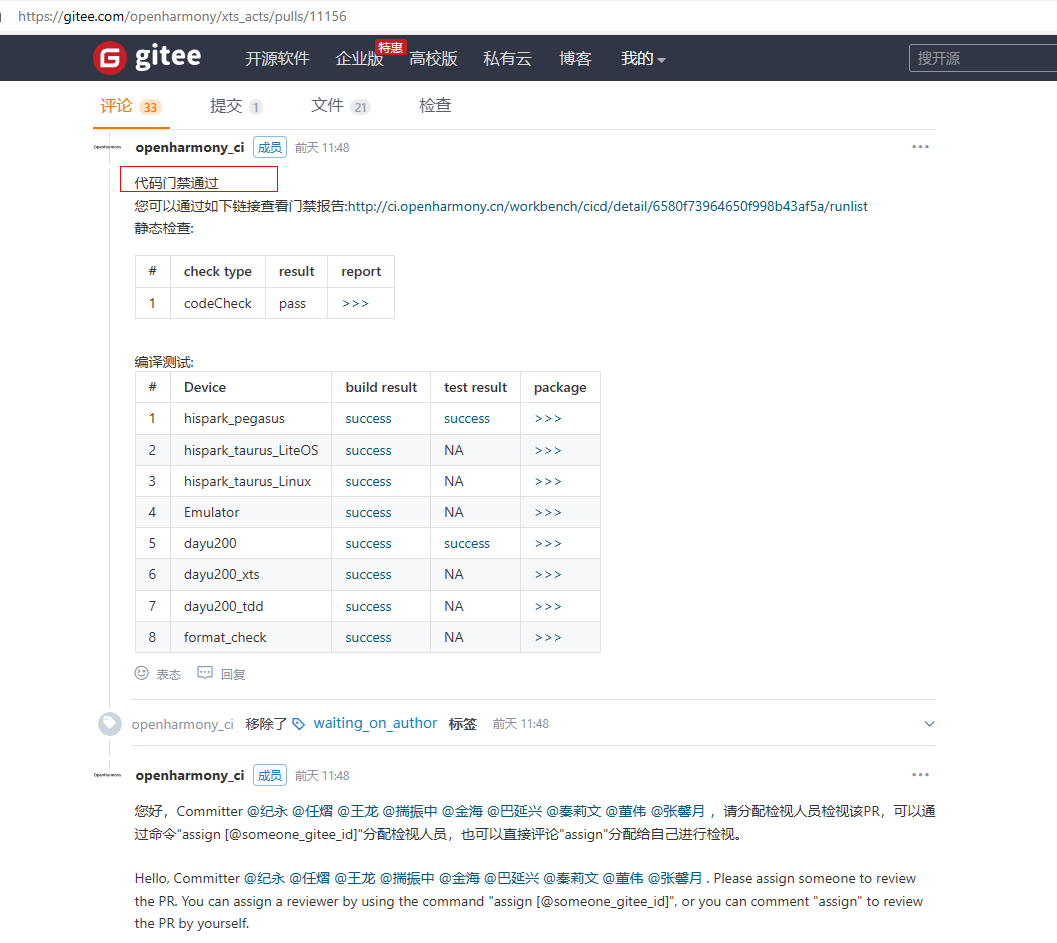
构建无问题,门禁通过;有问题则按照门禁报告提示修复,提交再构建直到门禁通过
-
等待分配committer进行代码review
-
代码commit注意事项
- 建议一个testcase module对应一个PR
- 建议分支命名: myfeature_xts_weekly_本周开始时间_本周结束时间_desc
- git commit -sm "xxxx@chinasoftinc.com" 提交信息包含signoff邮箱
- 上次提交门禁未通过,修改后再提交可使用: git commit --amend -sm "xxxx@chinasoftinc.com"
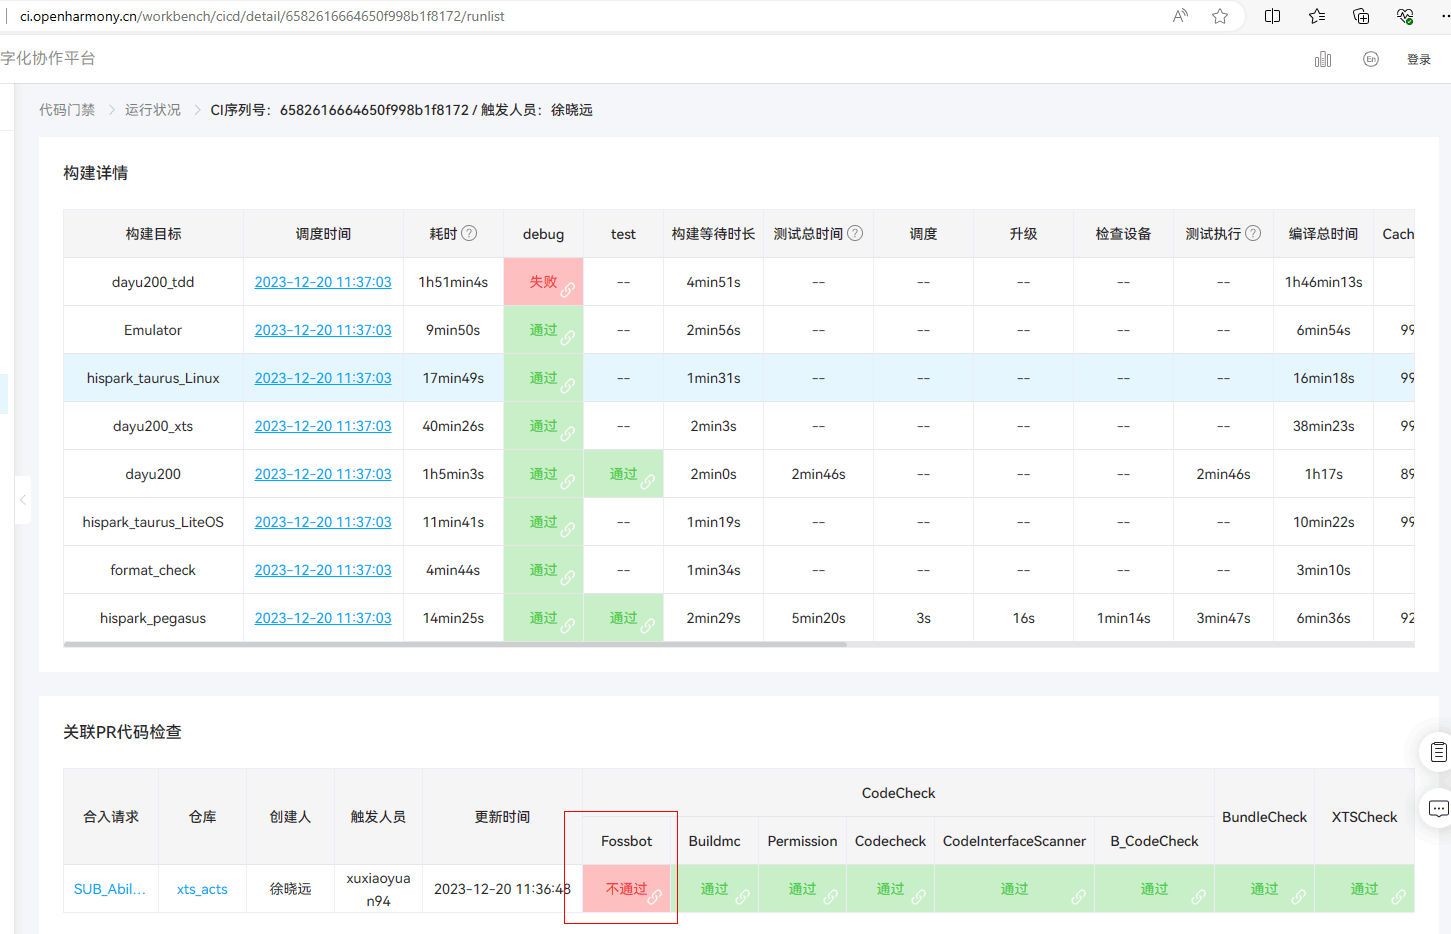
遇到的门禁问题
- gn文件格式化检查失败: 解决办法 - gn format *.gn (gn文件路径)
- OAT.3许可证头: 解决办法 - 添加许可证头
``` /* * Copyright (c) 2021 Huawei Device Co., Ltd. * Licensed under the Apache License, Version 2.0 (the "License"); * you may not use this file except in compliance with the License. * You may obtain a copy of the License at * * http://www.apache.org/licenses/LICENSE-2.0 * * Unless required by applicable law or agreed to in writing, software * distributed under the License is distributed on an "AS IS" BASIS, * WITHOUT WARRANTIES OR CONDITIONS OF ANY KIND, either express or implied. * See the License for the specific language governing permissions and * limitations under the License. */ ``` - case没有注释: 每个case要有注释且符合规范
- DOC协议相关问题: 解决办法 - 在线签署signoff
- fossbot相关问题: 解决办法 - 联系遥遥领先那边解决
更多原创内容请关注:[中软国际 openHarmony 技术团队]
入门到精通、技巧到案例,系统化分享HarmonyOS开发技术,欢迎投稿和订阅,让我们一起携手前行共建鸿蒙生态。

社区规范:仅讨论OpenHarmony相关问题。
更多推荐
 13
13 4
4- 0


 已为社区贡献12条内容

所有评论(0)